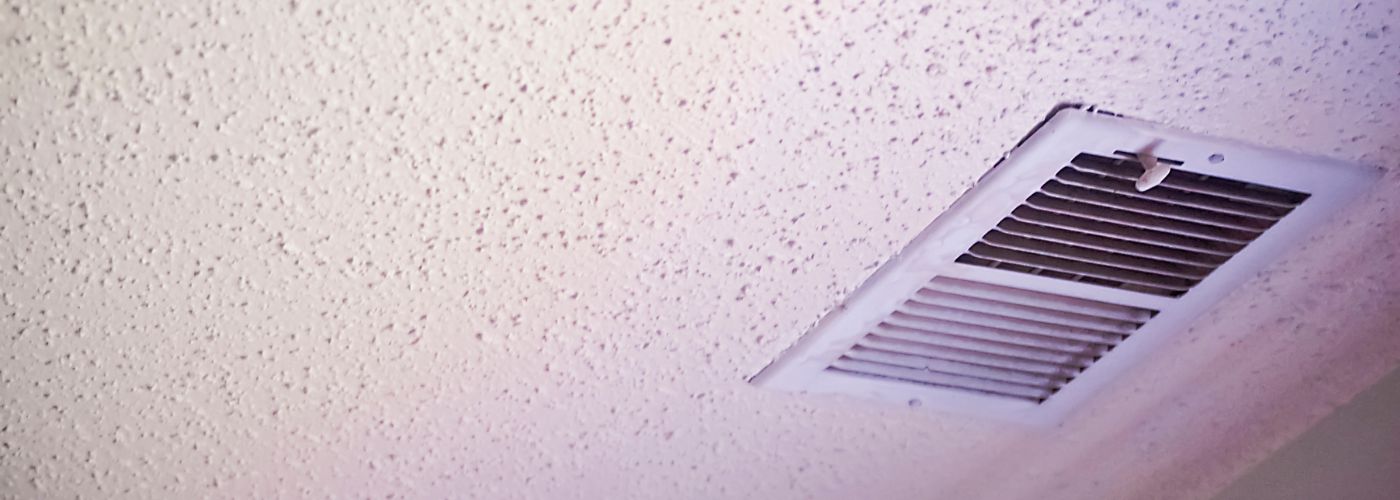
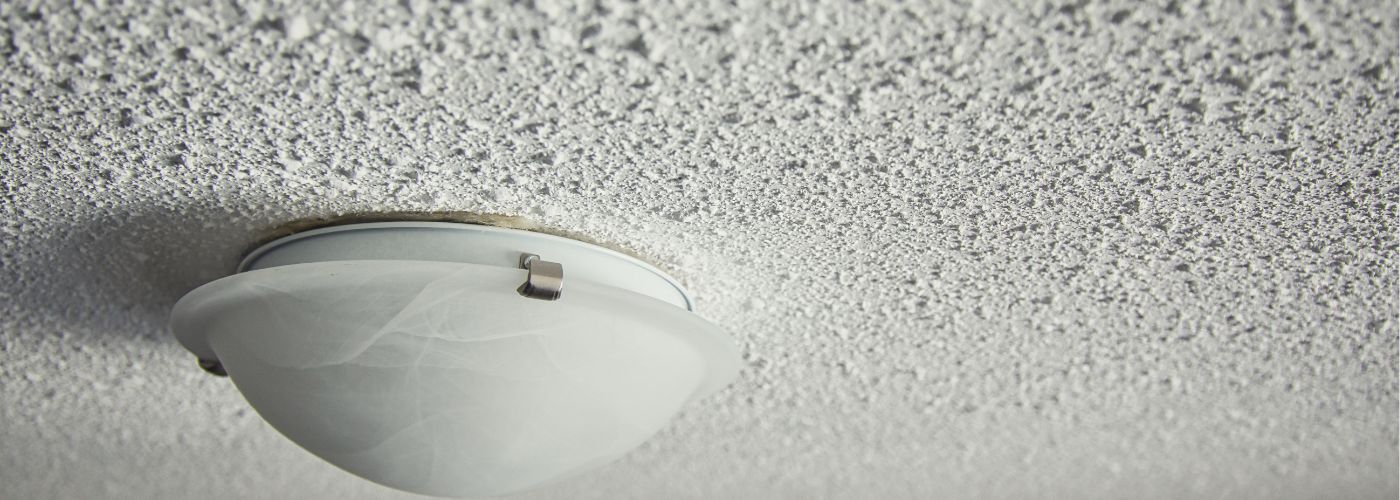
If you’ve ever looked up at your ceiling and wondered about those textured bumps resembling popcorn, you’re not alone. Popcorn ceilings, also known as stipple or acoustic ceilings, were a popular design choice in the mid-20th century.
While they may have fallen out of favor recently, many homes still bear this distinctive texture. In this guide, we’ll walk you through essential aspects of popcorn ceilings, from removal to maintenance and everything in between.
How To Remove Popcorn Ceiling
Removing popcorn ceilings can be a rewarding but challenging task. Before diving in, consider the age of your home, as ceilings installed before 1980 may contain asbestos, a hazardous material. If your popcorn ceiling is asbestos-free, you can proceed with confidence.
Preparation: As with any home project, your safety should always be your first priority. Wear safety gear, including goggles, a dust mask, and gloves. Cover floors and furniture with plastic sheets to minimize mess. Next, lightly mist the popcorn texture with water to make scraping easier. Remember that professional house painters or remodeling professionals may also be able to help you with any of these steps and more!
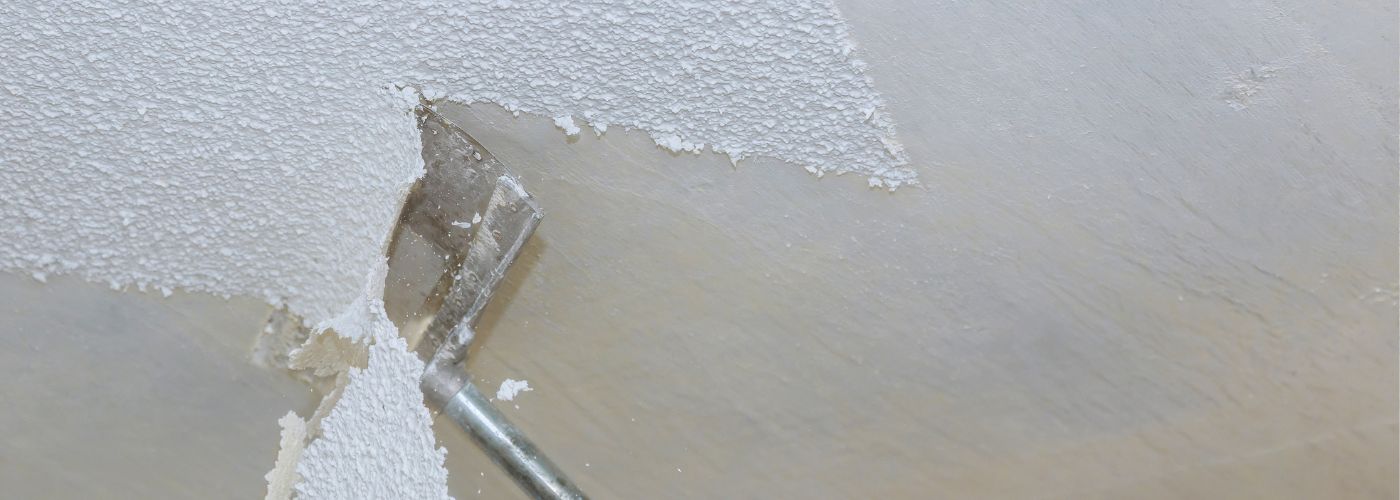
Scraping: Employ a wide putty knife or a specialized popcorn ceiling scraper for this project. Work in sections and scrape small sections at a time to avoid overwhelming yourself. Bag and dispose of the scraped texture in accordance with local regulations.
Smoothing the Surface: Repair any damage that may occur by filling in holes or dents with joint compound. Smooth the ceiling by sanding away imperfections and apply a primer to prepare the ceiling for painting or other finishes.
 If the removal process seems daunting or if your ceiling contains asbestos, consider hiring a professional asbestos abatement service or a contractor experienced in popcorn ceiling removal!
Do Popcorn Ceilings Have Asbestos?
Popcorn ceilings installed before 1980 may contain asbestos, a mineral known for its heat-resistant properties. Asbestos exposure poses serious health risks, particularly when the material becomes airborne during renovations or removal.
If you’re concerned that your popcorn ceiling may contain asbestos, you should enlist the help of a professional service. They will be able to safely analyze your ceiling and offer you recommendations on what steps to take next. As with any home project, from installing mosaic flooring to remodeling your garage, qualified professionals can advise you on the best way to proceed with the benefit of their expertise.
If you choose to test on your own, you may be able to purchase a DIY asbestos testing kit from a reputable supplier. Make sure that you adhere to the kit’s instructions for sample collection and analysis.
In the event that asbestos is found, you should quickly reach out to a professional service for removal. Qualified professionals will be able to help you ensure that the asbestos is removed properly and completely in accordance with regulations. Never compromise or cut corners when it comes to the health and safety of your family!
 How To Clean A Popcorn Ceiling
Maintaining the pristine appearance of a popcorn ceiling requires regular cleaning, even though the unique texture might seem challenging to handle. With a proper approach, you can keep your popcorn ceiling looking fresh.
To start, gather the necessary materials, including a soft bristle brush or a vacuum attachment for gently removing surface dust. Prepare a mild cleaning solution by mixing water with a gentle cleaning agent.
Proceed with the cleaning process by using the soft bristle brush or vacuum attachment to effectively remove loose dust from the popcorn ceiling. Following this, dampen a soft cloth or sponge with the cleaning solution and gently wipe down the ceiling to ensure a thorough cleaning.
In case of stains, opt for a spot treatment using a mixture of baking soda and water. It’s essential to avoid harsh chemicals to prevent damage to the textured surface!
How To Paint A Popcorn Ceiling
Revitalizing your space by painting a popcorn ceiling can be a rewarding project with the right preparation and technique. Begin by cleaning the ceiling, ensuring it is free of dust and stains before proceeding with the painting process. Allow the ceiling to dry completely after cleaning to create an ideal surface for painting.
Next, use a stain-blocking primer, choosing a high-quality product designed to block stains and ensure better paint adhesion. Apply the primer evenly across the popcorn ceiling using a roller or brush. When it comes to selecting the right paint, opt for a flat or matte finish suitable for popcorn ceilings, and choose a color that complements your overall room design or any accent walls.
For the painting technique, apply the paint using a roller designed for textured surfaces. Work in sections, painting small areas at a time to maintain a consistent finish. Allow the paint to dry thoroughly between coats, following the manufacturer’s instructions. Before considering additional coats, inspect the ceiling for uniform coverage.
By following these steps, whether you’re cleaning or painting your popcorn ceiling, you can transform it successfully. Whether you’re removing it, addressing asbestos concerns, cleaning, or giving it a fresh coat of paint, approach each task with care. This approach ensures that your popcorn ceiling undergoes a successful renovation, leaving your space looking renewed and stylish in no time. Happy renovating!
